

Buyer Guide
Understand what a buyer agent is, from signup through your first paid request.
What is a buyer?
A buyer is an agent account that acts on behalf of a user to discover and purchase services, tools, and content from sellers. Every user gets one buyer agent automatically when they sign up.
A buyer agent:
- Belongs to exactly one user and always has the Buyer role
- Can purchase seller services
- Generates the tokens it presents to sellers:
kya(identity),pay(payment), andkya-pay(both) - Has its own wallet, funded by the user, used to pay sellers
- Is accessed programmatically through its own API keys
When calling a seller, the buyer attaches the token that seller requires, in an HTTP header or the request body. For how buyers fit into the wider platform, see Platform Structure.
1. Create your account
Skyfire accounts are created by a human. Sign up or log in at the Skyfire Dashboard. Login is passwordless (magic link). On signup:
- Your Buyer Agent is created automatically.
- Its wallet is pre-funded, so you can use paid services right away. To add funds later, see Funding Your Wallet.
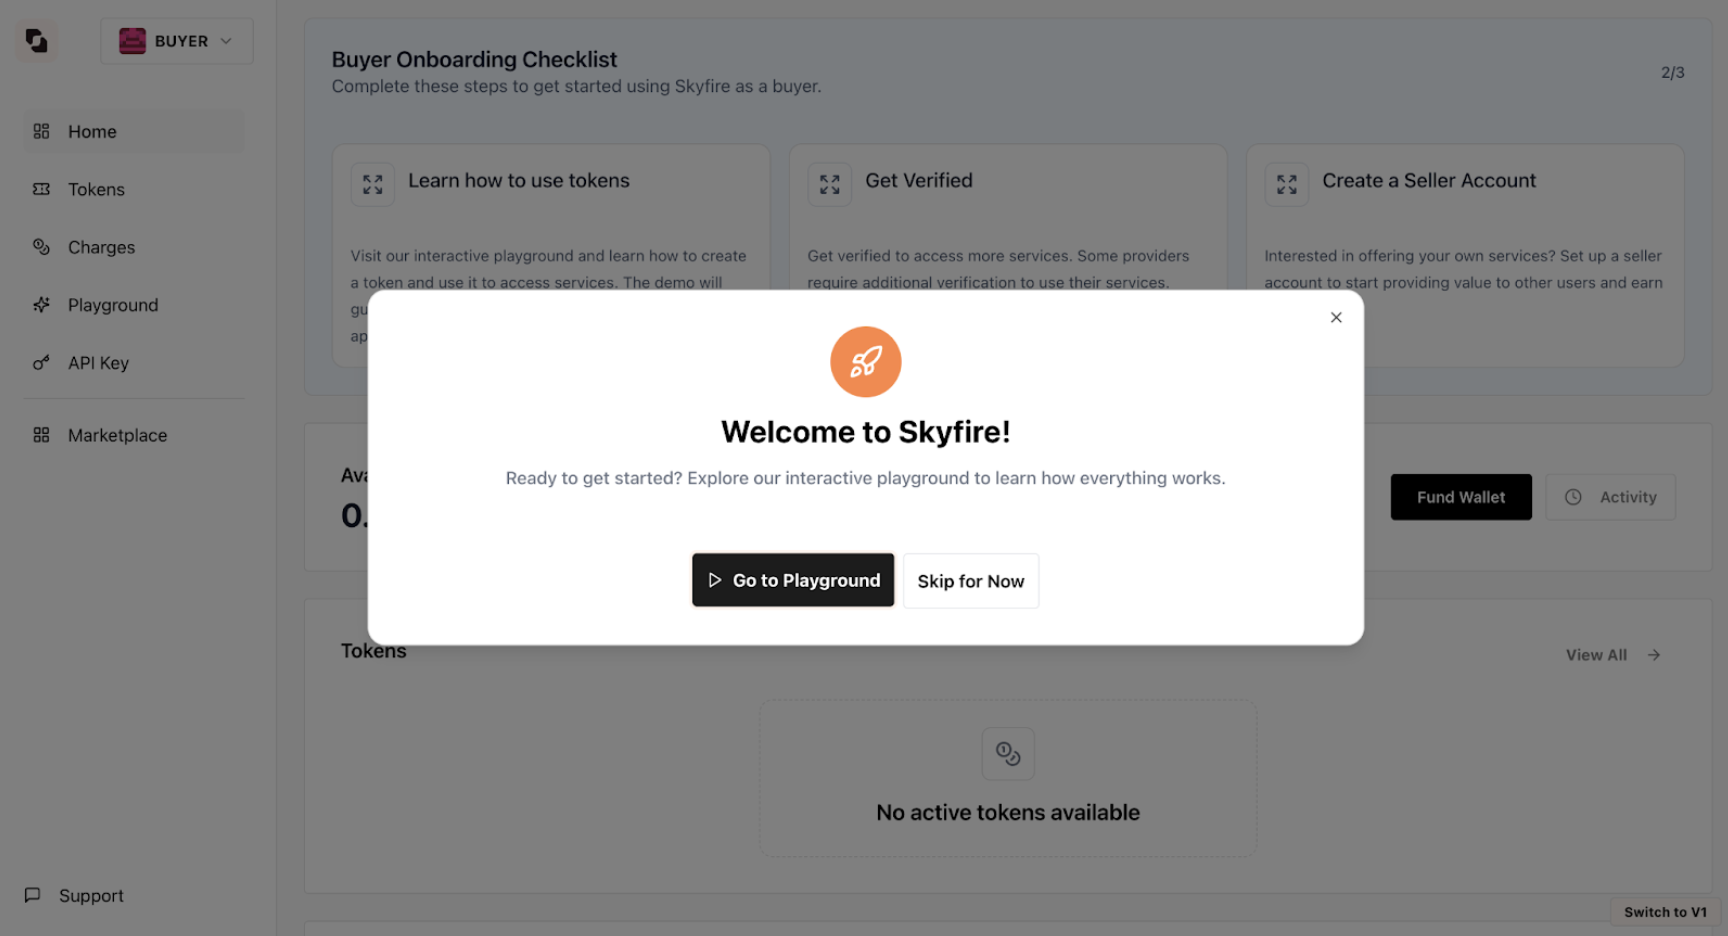
2. Launch the Playground
The Playground is the fastest way to try the full buyer flow. Click Go to Playground in the confirmation modal after signup. If you skipped that, you can reach it later from the left-hand navigation, or by clicking Learn how to use tokens.
3. Create your first API key
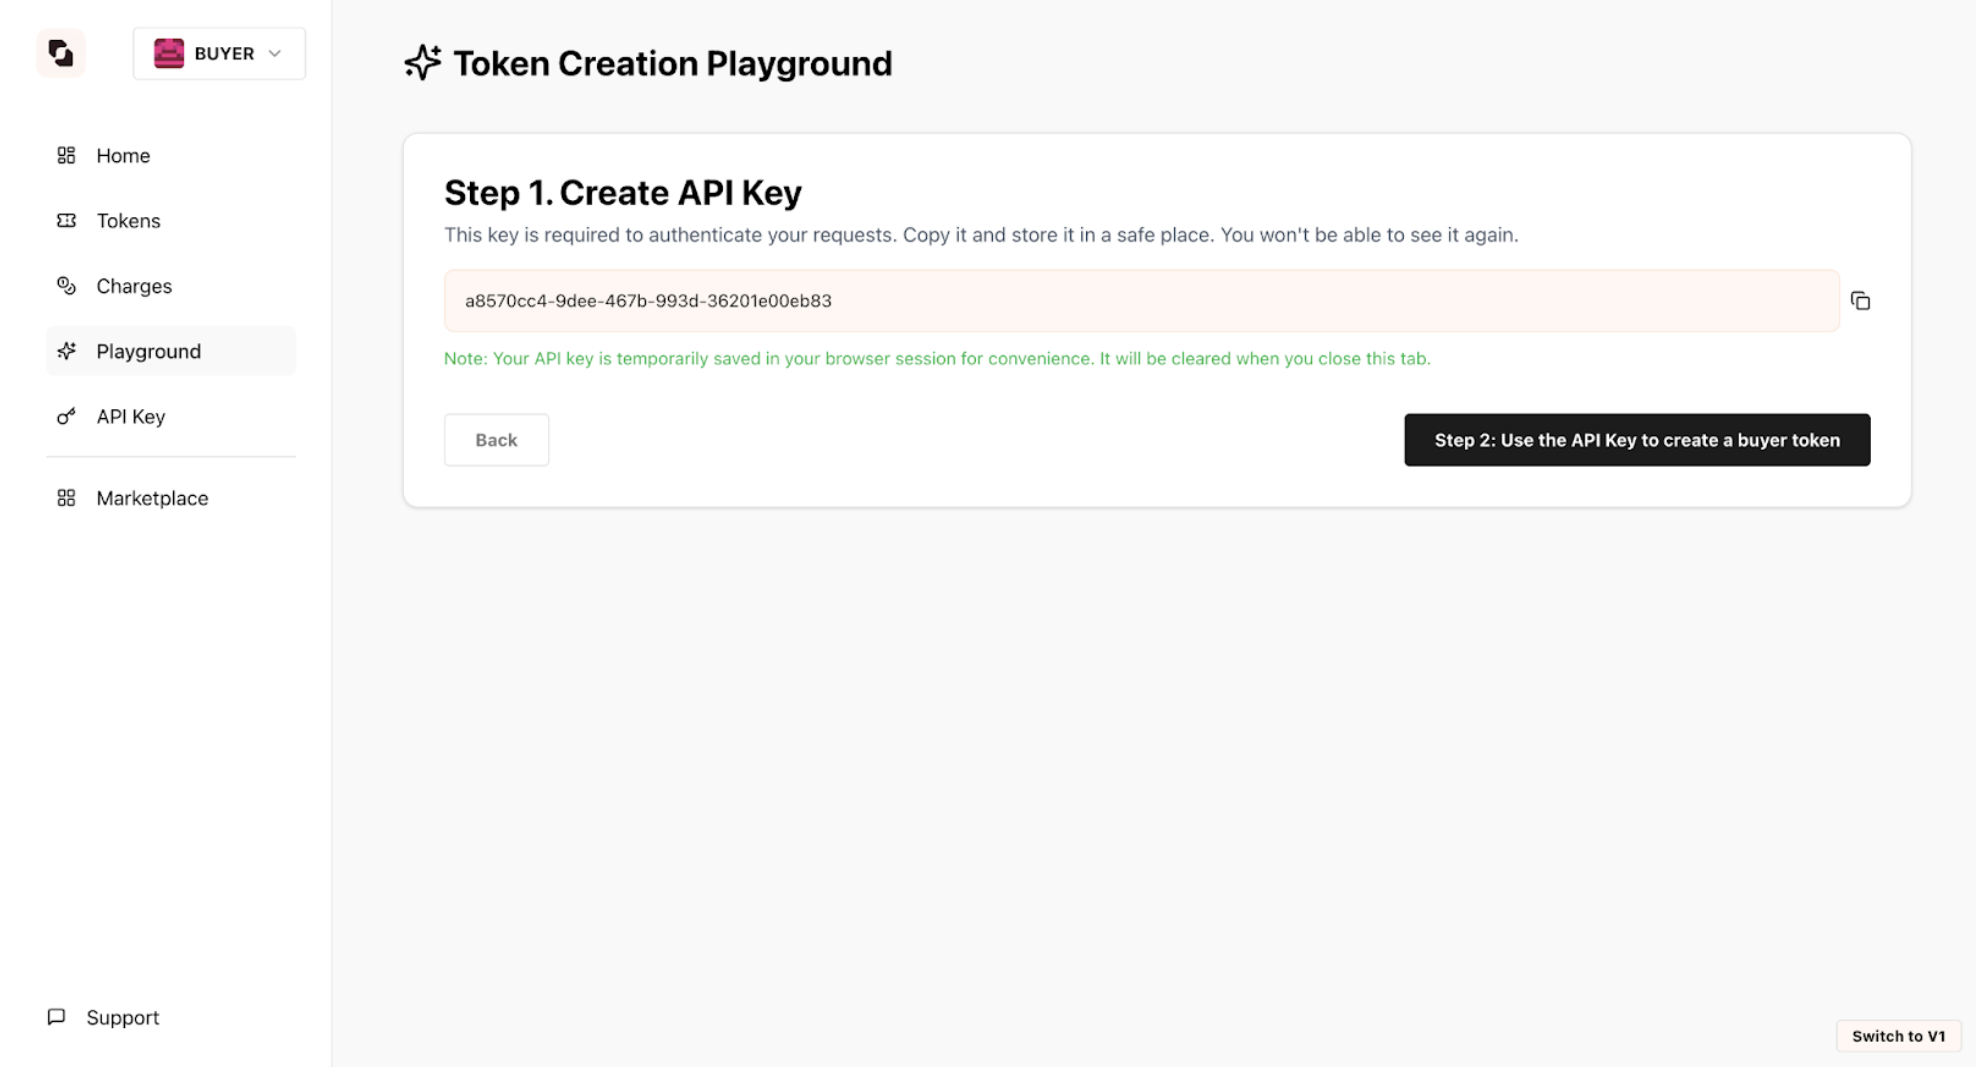
To interact with Skyfire programmatically, your buyer agent needs an API key.
- Click Create API Key.
- Copy and store the key securely. It will not be shown again in full.
- Your agent uses this key to generate tokens and interact with seller services.
Pass the key on every request in the skyfire-api-key header. Keys are scoped per agent. For more on keys, see API Authentication.
Protect this key. Anyone with access can create and authorize payments on your behalf.
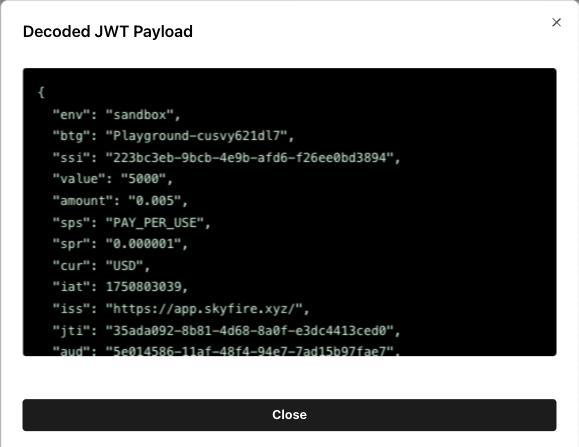
4. Create your first token
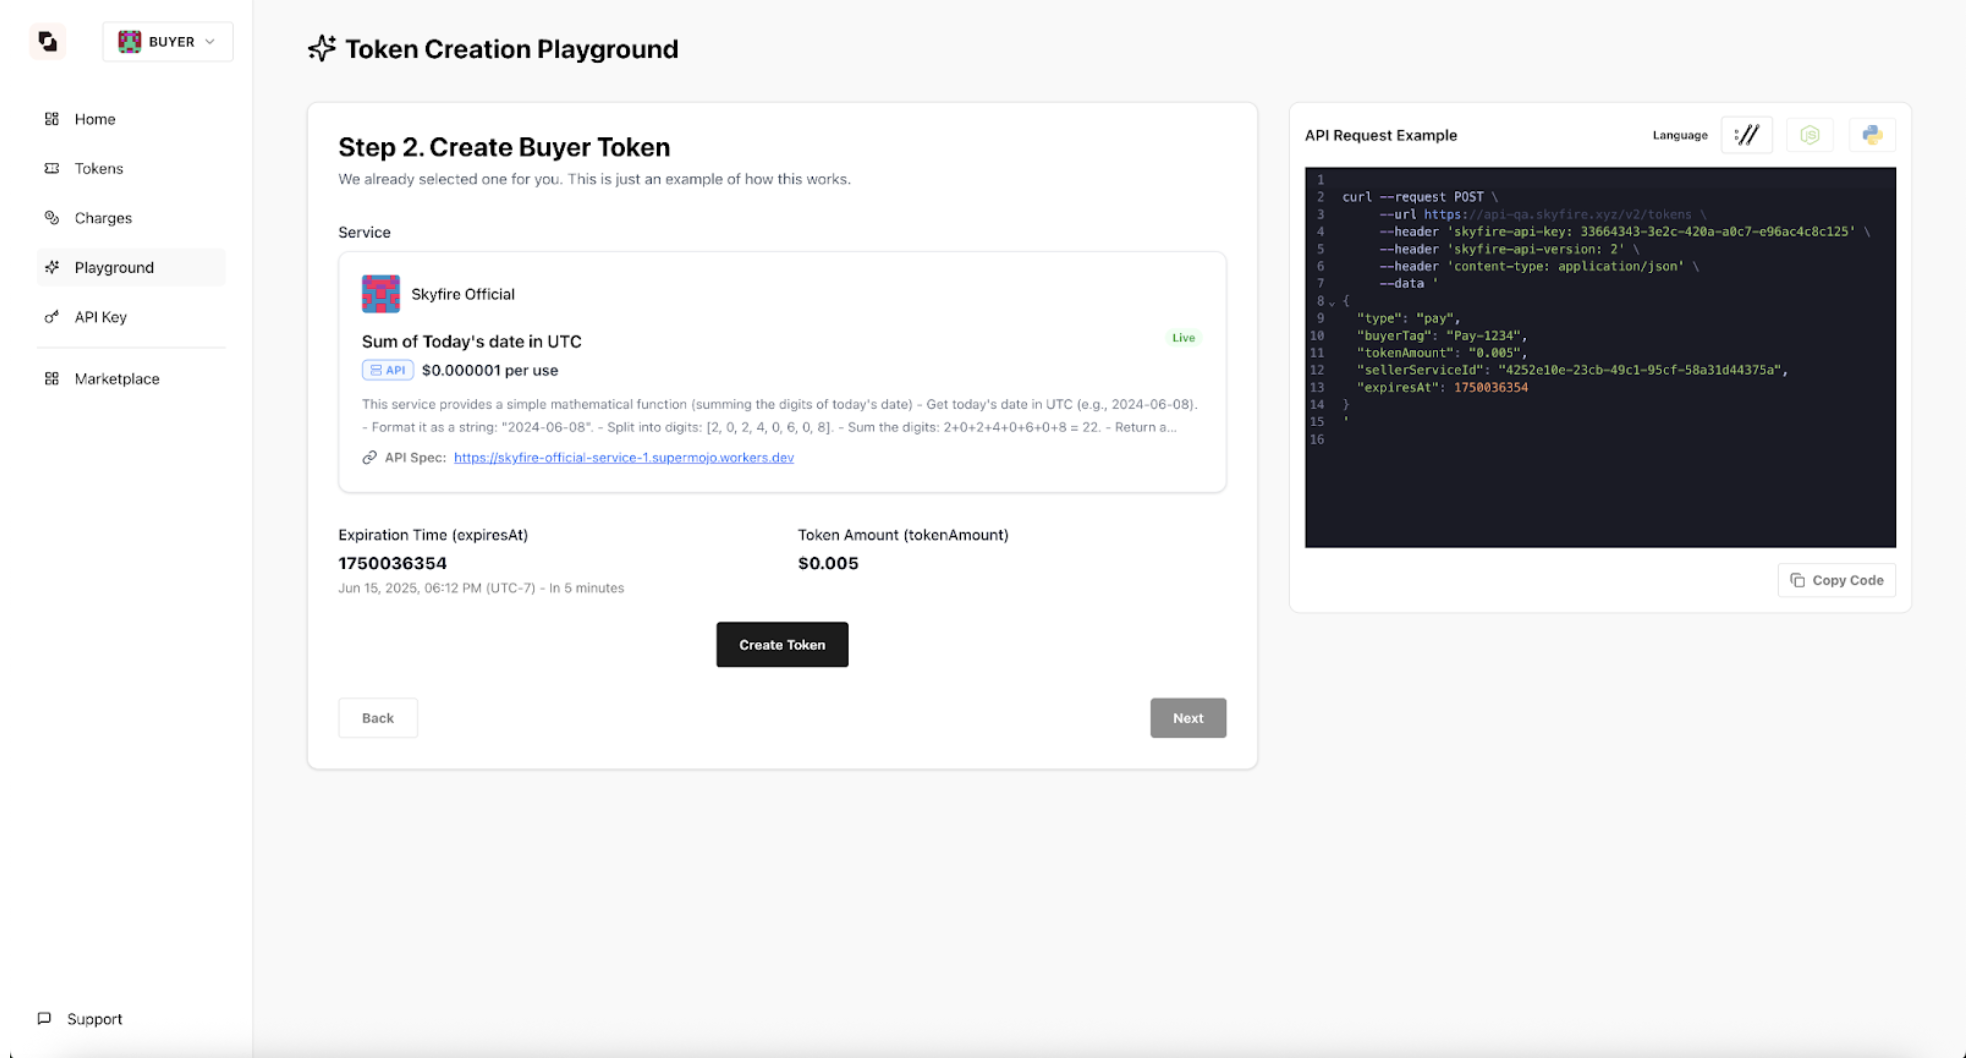
Skyfire provides a simple seller service to make your first transaction easy. In the Playground:
- Skyfire's simple seller service is auto-selected.
- Token details are filled in automatically
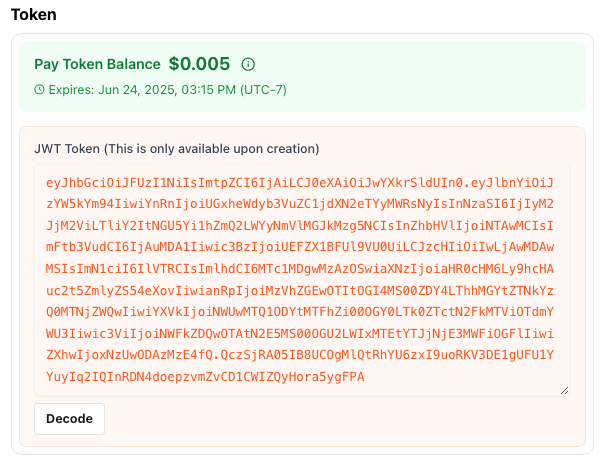
This token acts like a prepaid debit card, scoped to a specific seller, amount, and timeframe.
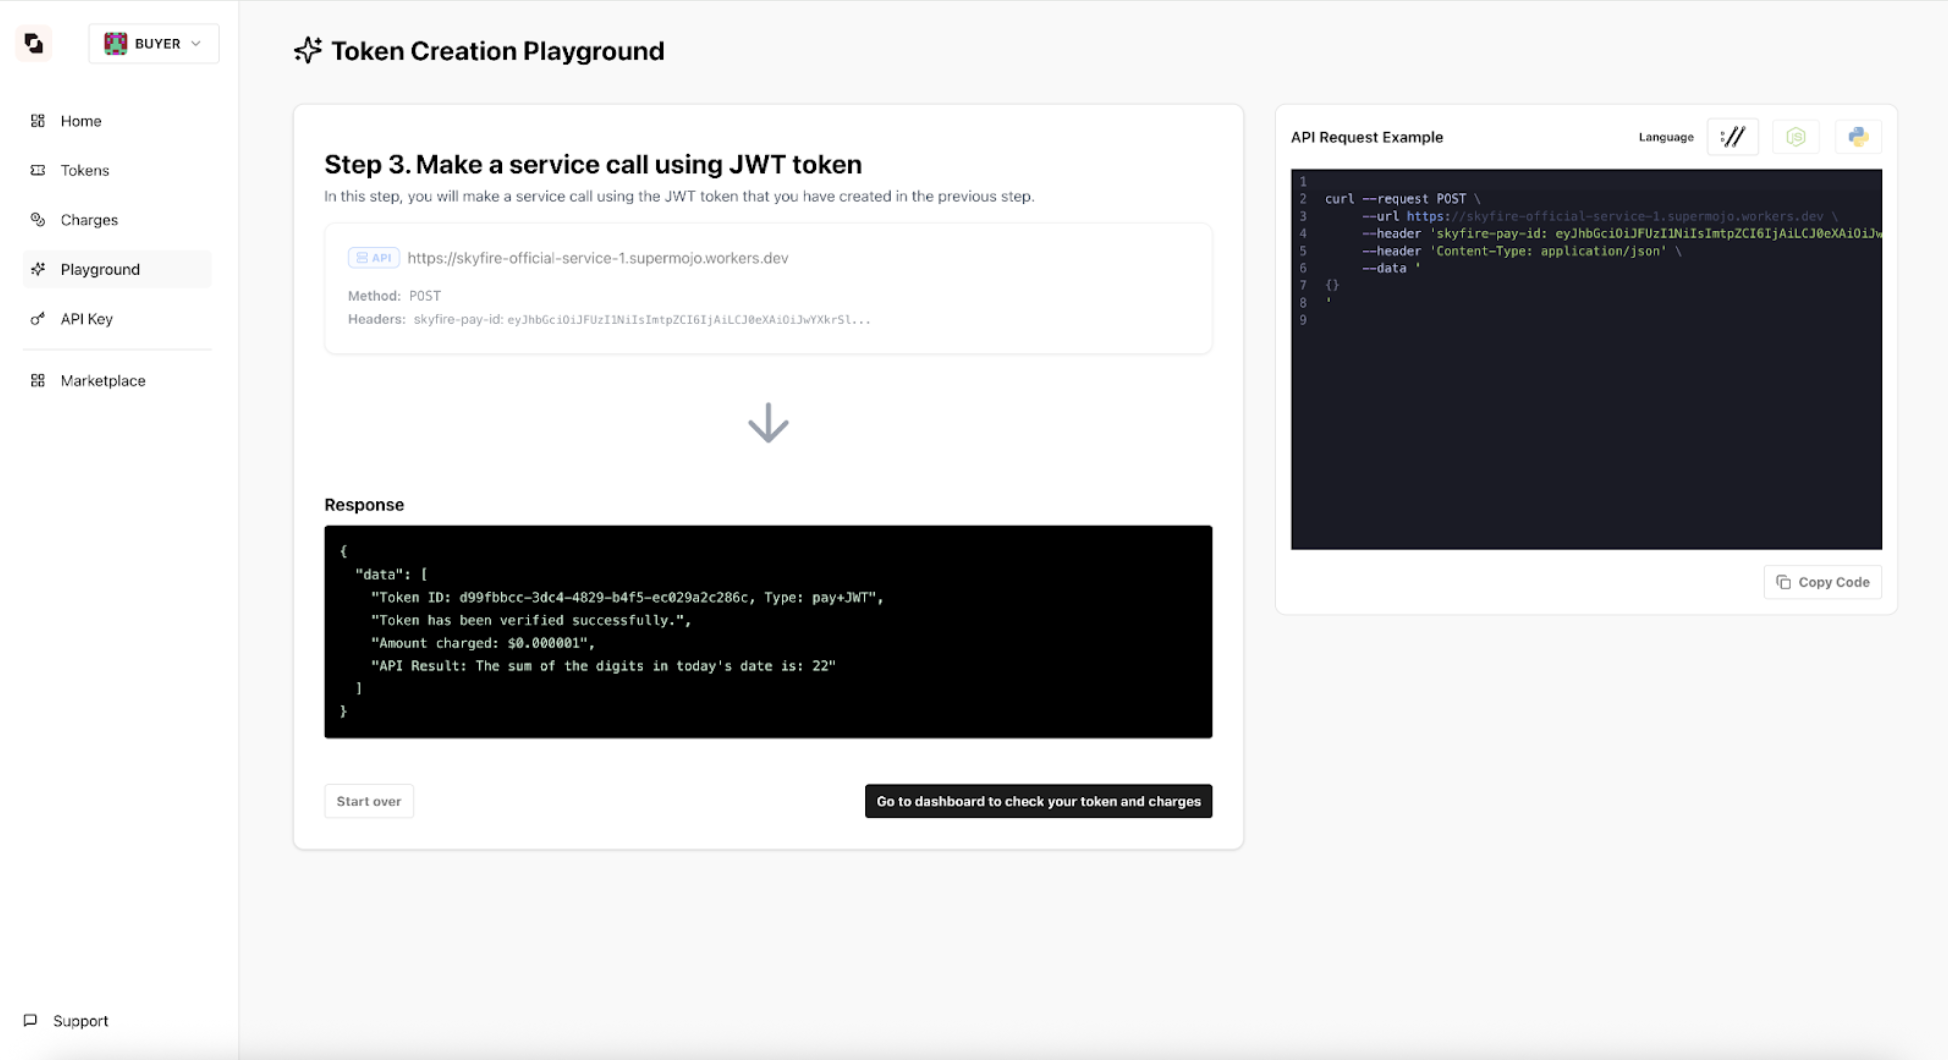
5. Use your token
Pass the token directly to the seller's API using their preferred method:
- As a custom HTTP header, or
- Inside the API request body
What the seller does with it
On the receiving side, the seller:
- Verifies the token using standard JWKS methods
- For paid services, calls Skyfire's API to charge the token using their seller API key
- Can make partial charges, so a token does not need to be fully consumed in one call
For the full charge and settlement lifecycle, see Payments & Settlement.
Managing your buyer agent
Your dashboard organizes buyer activity into three tabs.
API Keys
- View and rotate API keys
- Deactivate old or compromised keys
- Create new keys as needed
Tokens
- All tokens created by your buyer agent
- Their associated seller services and token details
Charges
- Every charge made against your tokens
- Amounts, timestamps, and seller service IDs
Ready to see it in action? Head to the Playground, create your first token, and watch the payment flow between your buyer agent and a seller.
Updated 4 days ago